


Our Team
Who is Mid-Atlantic Packaging?
Our Story
The 40 year history of Mid-Atlantic Packaging.
FAQ's
Questions & Answers on Packaging, Services & more.
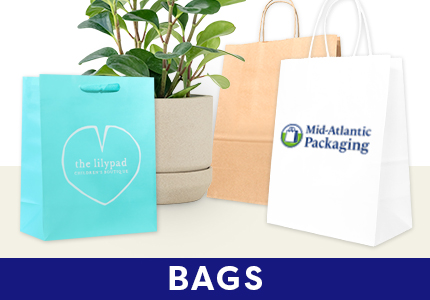
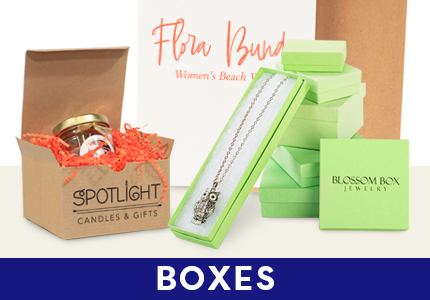
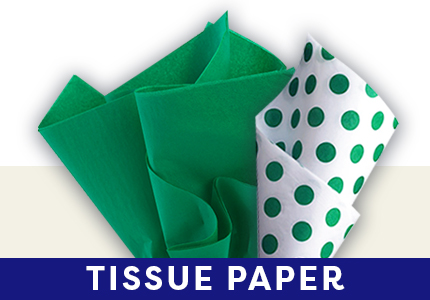
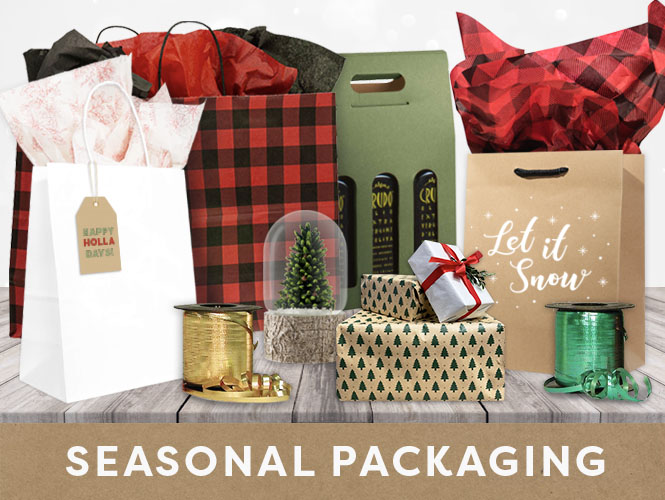
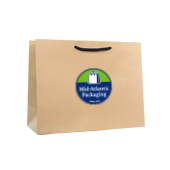
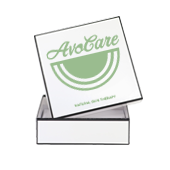
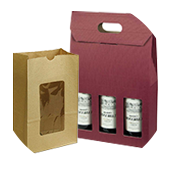
Types of Packaging
Reference for the bags, boxes & packaging we sell.
Testimonials
Love notes from our customers.

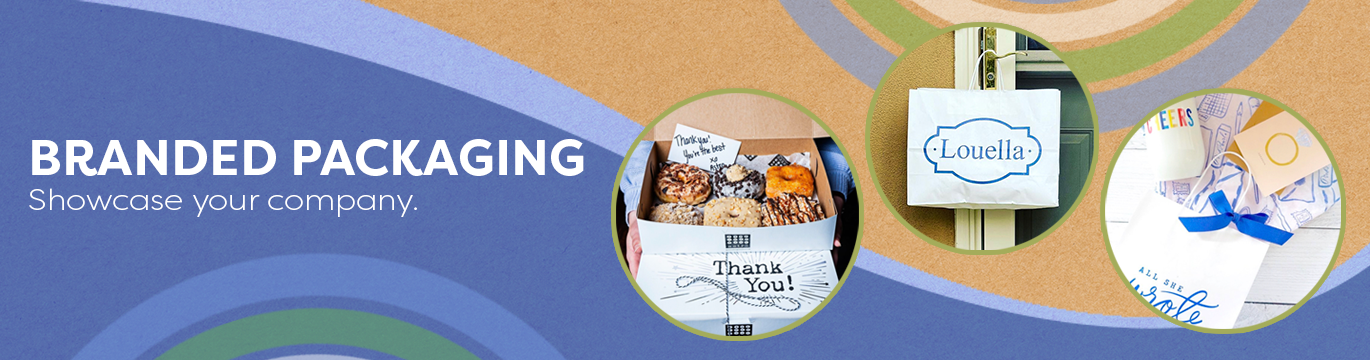

Wholesale Retail Packaging Supplies
Are you looking for beautiful, high-quality packaging and gift wrap supplies at affordable prices? At Mid-Atlantic Packaging, we offer retail packaging supplies at wholesale prices. We have been a reputable wholesale packaging supplier for over four decades, bringing brightly colored, visually interesting packaging to many types of businesses and personal applications. Our wholesale gift packaging supplies include bags, boxes, tissue paper, seasonal packaging, branded packaging, gift baskets, labels and tags, ribbons and bows, shipping supplies, and so much more. We have everything you need, from wine packaging to custom-printed retail packaging. To learn more about our wholesale retail packaging supplies, reach out to our team today.